
Unfortunately, not all microphones are created equal. Baseline volume levels differ significantly between models, and while one may sound more than adequate, another may be vastly underpowered. The issue can be particularly pronounced when using microphones with communication applications such as Skype.
For gamers, the issue can be quite debilitating within the high octane context of a multiplayer game where communication is crucial to coordinating a strategy and thus securing victory.
A teammate hearing a faint murmur rather than cries to watch out for a creeping enemy is sure to result in a flood of abuse and a swift exit from the squad.
Unfortunately, Windows 10, in true Microsoft fashion, excels at hiding away the option that allows you to tweak microphone volume levels within a maze of menus and windows.
Fret not, here’s how to increase the microphone volume on Windows 10.
Table of ContentsShow
Check Your Hardware
Before we dig into Windows 10 fixes, it’s worth checking if your microphone is correctly connected to your PC. A slightly dislodged mic might still function at low volumes. If you are using a headset make sure it is correctly connected to both the output and microphone jacks.
In a similar vein, if you are using a hardware mixer, check connections to make sure levels are set correctly and raise them as required.
Adjust Windows 10 Microphone Settings
A common culprit for low microphone levels are poorly adjusted levels within Windows 10 itself. Here’s how to change them to raise the microphone volume.
- Click on the Windows Start menu, then click on ”Settings”.

- In the ”Settings” window, click on ”Devices”.
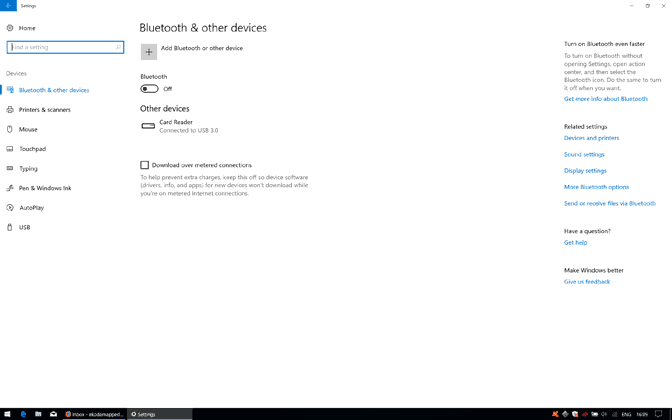
- Select ”Bluetooth & other devices” from the list on the left-hand side of the screen.
- Under the ”Related Settings” section, which will be either to the right of the window or down below, click on ”Sound settings”.
- In the ”Sound” window that pops up, navigate to the ”Recording” tab along the top.

- Alternatively, you can right-click on the speaker icon that appears in the taskbar in the bottom right-hand corner of the screen, then select ”Recording Devices” from the menu.

- Right-click on your microphone, then click on ”Properties” from the drop-down menu that appears.

- In the ”Microphone Properties” tab that appears, choose the ”Levels” tab.
- Slide the ”Microphone” slider to the right up to 100.
- If the volume is still too low, increase the ”Microphone Boost” slider in small increments until the microphone is at the required volume.
- Click ”Apply”, and then ”Ok”
Download The Latest drivers
Depending on whether your sound emanates from an audio device built into the motherboard, a PCI-E sound card, or an external USB sound card, it is worth updating the drivers to the latest version. The same goes for gaming headsets with inbuilt microphones.
Visit the device manufacturer’s website and find the support page. Drivers are usually readily available for download. Follow the instructions provided.
Update To The Latest Realtek Codecs

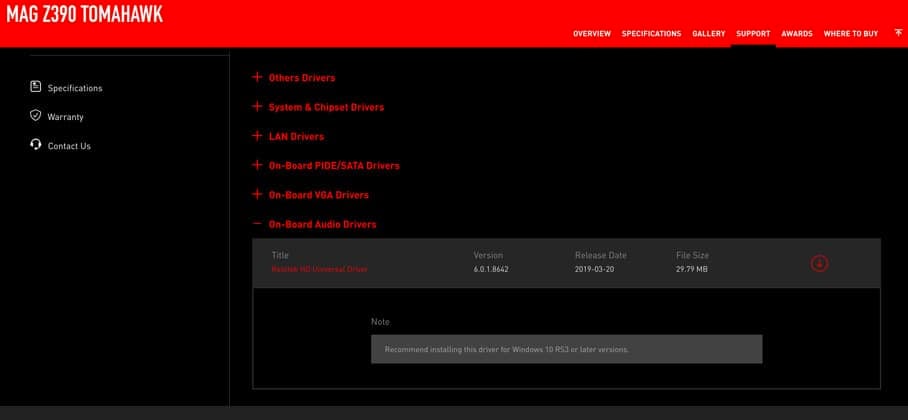
If the above fails to improve mic levels or you are unsure what type of sound hardware your PC has, we recommend downloading the latest Realtek high definition audio codecs.
These are designed to vastly improve the basic Microsoft developed audio drivers that ship with Windows 10 alongside offering more freedom in terms of audio settings.
- Visit the following website and download the latest Realtek HD audio codecs appropriate for your system (32/64bit).
- Once downloaded, double click on the executable file and go through the installation wizard.
- Restart the PC if required.
You can now access the RealTek options by right-clicking on the speaker icon in the taskbar. These are arranged similarly to the Windows 10 sound menu, but with more choices and a visual representation of each device.


